
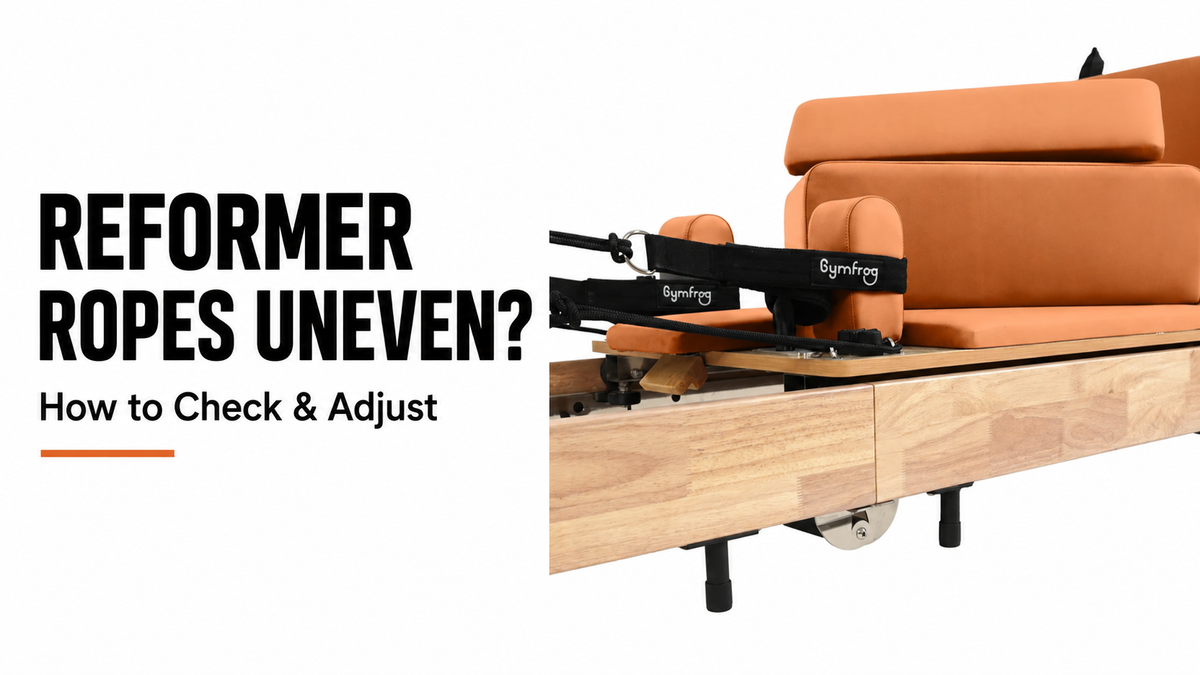
One strap feels tight while the other stays loose. Your hands reach different starting positions, or one foot loop seems longer than the other. Before shortening a rope, check whether the difference comes from the ropes, the loops, or the way the equipment is set up.
To check uneven Pilates reformer ropes, start with matching loops, the carriage in the manufacturer’s recommended reference position, and matching pulley heights where applicable. Compare both sides under gentle, equal tension. If the working lengths differ, adjust and secure the ropes using the instructions for your specific reformer.
If the ropes look equal but one side still catches or feels heavier, investigate the rope path and pulleys instead of repeatedly changing the length.
Are the Ropes Uneven, or Do They Just Feel Uneven?
Uneven reach and uneven resistance are different problems.
Uneven reach means that matching loops do not reach equivalent positions when checked from the same setup. Rope length, loop selection, attachment method, or pulley position may explain the difference.
Uneven resistance means that one side feels harder to pull, even when the loops appear evenly positioned. A rope rubbing against another component, a pulley that does not move freely, or an equipment fault may need attention.
How you sit or lie on the carriage can also affect what you feel. Check the equipment before assuming the ropes need adjustment.
| What you notice | What to check first |
|---|---|
| One loop reaches farther than the other | Matching loop sizes, attachment points, and working rope lengths |
| One side has slack at the starting position | Loop selection, rope routing, and length settings |
| The loops line up, but one side catches | Rope seating, visible obstructions, and pulley movement |
| The difference returns after adjustment | Whether the adjustment mechanism holds securely |
| Both sides feel jerky as the carriage moves | The wider carriage and resistance system |
Before You Adjust Anything
Finish the exercise and get off the reformer before changing rope settings. Position and secure the carriage as directed in your model’s manual. Do not release a rope adjustment mechanism while someone is pulling on the straps.
Inspect the accessible ropes, loops, and attachments. Fraying, cuts, damaged stitching, or a mechanism that slips are reasons to stop using the affected equipment and arrange inspection or replacement.
Manufacturers use different rope systems. Some have cleats, some have dedicated adjustment controls, and others use a different fastening arrangement. The release and locking procedure must match your machine. Manufacturer guidance also calls for checking ropes and handles for wear and replacing damaged components.
Step 1: Check That You Are Comparing Matching Loops
Start with the simplest explanation: are you using the same loop on each side?
With double-loop straps, compare short loop to short loop or long loop to long loop. Using a short loop on one side and a long loop on the other creates an apparent length difference that adjusting the ropes will not properly solve.
Check that:
- Both loops are the same type and size.
- They attach to the ropes in the same way.
- Neither loop is twisted or caught around another component.
- The connectors are fully engaged.
If a loop has been replaced, check that it matches the other one. Matching rope settings cannot compensate reliably for mismatched accessories.
Step 2: Establish the Same Starting Setup
A useful comparison needs a repeatable starting position.
Follow your manual’s reference setup for the carriage, stopper, and rope system. If the machine has adjustable pulley risers, confirm that the left and right sides are in corresponding positions for a standard symmetrical setup.
Avoid changing the carriage position or pulley height midway through the check. Those changes can affect the comparison.
Do not assume the loops should reach the shoulder rests on every reformer. Use that reference only if your model’s instructions specify it.
Step 3: Check the Rope Paths
Trace each rope along its visible route before changing its length.
Look for a rope that is:
- Sitting outside the pulley groove.
- Crossed over or tangled with the other rope.
- Caught around a riser, shoulder rest, or storage point.
- Rubbing against the frame.
- Trailing into an area where moving parts could catch it.
A routing problem may make one side feel shorter or less smooth. Lengthening that rope could hide the symptom without addressing the cause.
If a rope has come out of its intended path, follow the manual’s procedure for repositioning it. Do not dismantle pulley assemblies or reach into moving components to investigate.
Step 4: Compare the Working Lengths
With the setup unchanged, compare the matching loops at the equivalent reference points specified for your reformer.
Apply only enough equal tension to remove slack. Do not pull one side harder or move the carriage during the comparison.
Check the part of each loop that actually contacts your hand or foot. Comparing different edges of twisted loops can give a misleading result.
Also, avoid judging the setting by the loose rope tails alone. The length of rope left beyond an adjuster is not the same as the usable length between the machine and your loop.
If the loops now line up, further rope adjustment may be unnecessary. If they remain uneven, proceed to the model-specific adjustment.
Step 5: Adjust and Secure the Ropes
Use your reformer’s instructions to release the designated adjustment mechanism, make a small correction, and secure it again.
Where the system permits individual adjustments, changing one side at a time makes it easier to see the effect. Recheck the loops from the same reference position after each correction.
The aim is to achieve the appropriate working length on both sides—not simply to shorten the longer rope until both feel tight.
Before testing:
- Confirm that the adjustment mechanism is fully engaged.
- Secure loose rope ends using the intended storage arrangement.
- Check that the ropes remain correctly routed.
Do not improvise extra knots, wrap ropes around structural parts, or copy another brand’s locking method unless your manual specifically instructs you to do so.
Step 6: Recheck Before Returning to Exercise
Repeat the stationary comparison first. Then follow the manufacturer’s recommended functional check.
During a controlled check, look for smooth rope travel, secure attachments, and settings that remain in place. If you are unfamiliar with the equipment, ask an instructor or the supplier to check the setup before resuming a workout.
Stop if you notice:
- A rope slipping through its adjuster.
- A sudden change in length.
- Catching, grinding, or jerky movement.
- A loose pulley or attachment.
- Unevenness returning immediately.
Repeatedly readjusting a slipping rope is not a repair.
What If the Ropes Are Equal but One Side Still Feels Heavier?
Once the working lengths match, resist the temptation to keep shortening or lengthening one side.
Check your position on the carriage and confirm that you are holding or wearing the loops in the same way. An instructor can help distinguish a setup issue from differences in movement or body position.
If the equipment itself catches or moves unevenly, the problem may extend beyond the ropes. Read our guide to a Pilates reformer carriage that is not sliding smoothly for a broader inspection sequence.
Avoid changing spring settings simply to disguise a left-to-right difference.
Frequently Asked Questions
Should both reformer ropes be the same length?
For a standard symmetrical setup, matching loops should provide matching working lengths when checked using the manufacturer’s reference procedure. That does not necessarily mean the visible loose rope tails must be identical.
An instructor may use a specific setup for an individual purpose, but unexplained unevenness should be checked rather than treated as normal.
Is there one correct rope length for every reformer?
No. The correct setting depends on the machine’s design, its reference setup, and the intended exercise. A measurement taken from another brand may not suit your equipment.
Should I adjust rope length for my height?
Your setup may need adjustment, but height alone does not determine the correct rope length. Footbar position, carriage settings, exercise choice, and individual proportions also matter.
See our guide to adjusting a Pilates reformer for different heights for the wider setup considerations.
Why do my ropes become uneven again?
Possible causes include an adjustment mechanism that is not fully secured, different settings used by another person, or wear in the rope or fastening system. If the setting changes during use, stop and have the equipment checked.
Can I keep using a frayed rope?
Do not continue using a damaged rope. Contact the equipment supplier for a compatible replacement and follow the model’s replacement instructions.
Need Help Checking Your Gymfrog Reformer?
If the working lengths still do not match, or you are unsure how your adjustment mechanism locks, contact Gymfrog with your model name and clear photos of both rope adjusters, pulley positions, and loop attachments.
Describe whether the problem appears while the carriage is stationary or only during movement. That distinction helps identify whether you need a length adjustment or a closer equipment inspection.

Leave a comment
This site is protected by hCaptcha and the hCaptcha Privacy Policy and Terms of Service apply.